Landscape Lights: How to Install in 5 Easy Steps (DIY Guide)
Table of Contents
Introduction
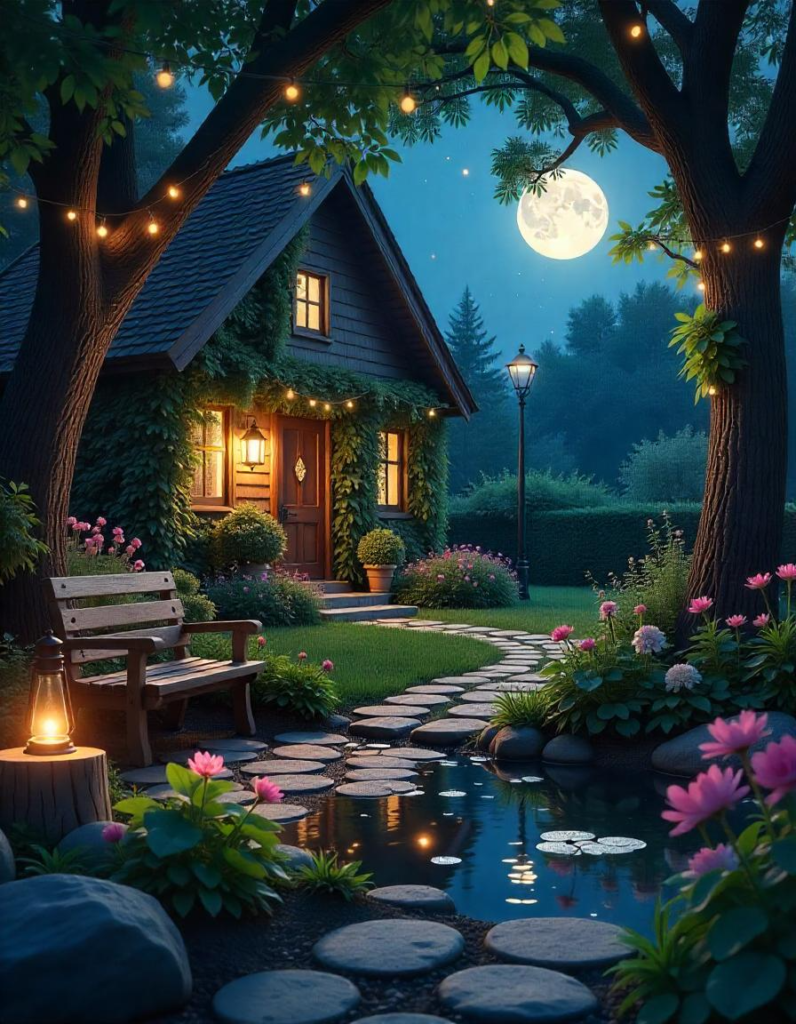
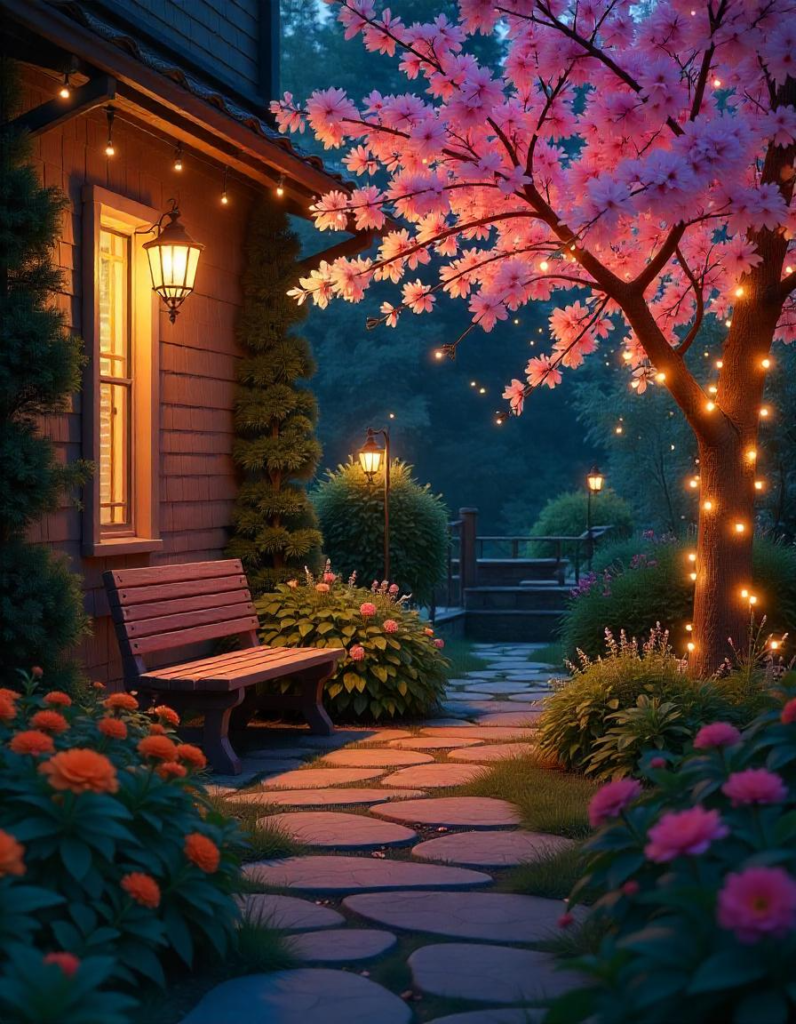
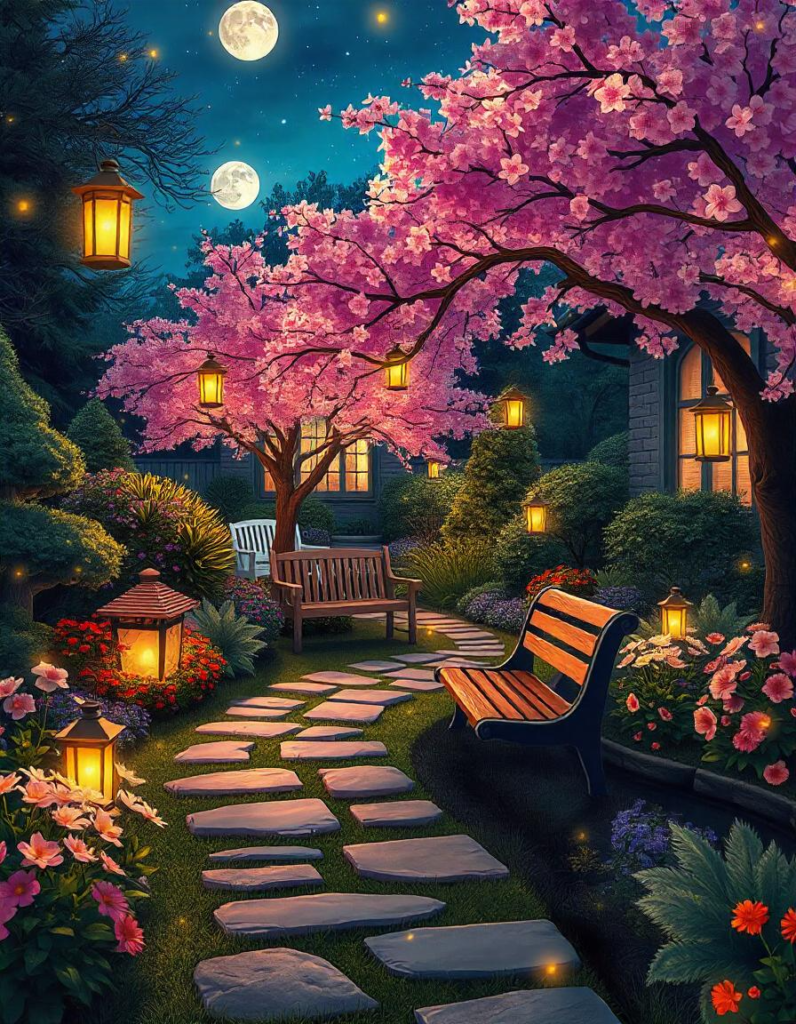
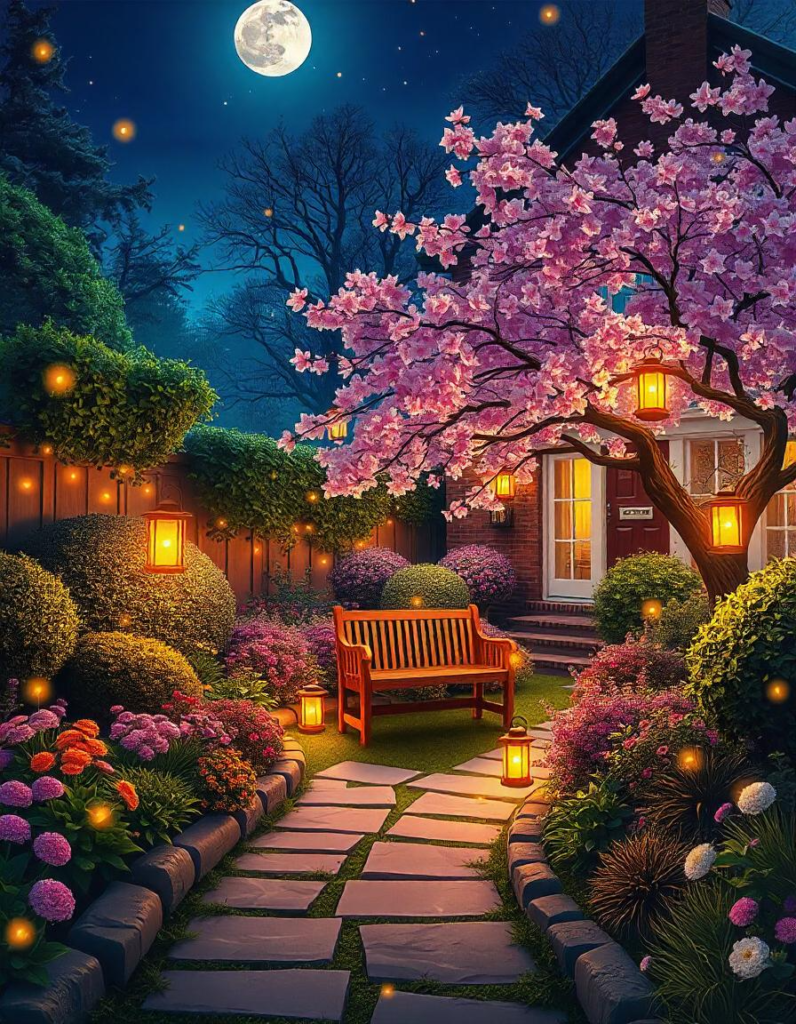
Installing landscape lights can transform your yard into a stunning nighttime retreat while boosting your home’s curb appeal and security. The best part? You can do it yourself with a few tools and some planning. Whether you want to highlight garden paths, illuminate trees, or create a cozy patio vibe, this guide will walk you through the process. Let’s get started!

Step 1: Plan Your Landscape Lighting Design
Before you start digging or wiring, you need a solid plan.
Identify Key Areas to Illuminate:
- Pathways and Walkways: Ensure safe passage at night.
- Driveways: Help guide cars and prevent accidents.
- Trees and Shrubs: Highlight natural beauty.
- Patios and Decks: Create a cozy, inviting atmosphere.
Types of Landscape Lights to Consider:
- Path Lights: Small posts along walkways.
- Spotlights: Focused beams to highlight features.
- Floodlights: Broad beams for large areas.
- Well Lights: Recessed ground lights.
- Step Lights: Built into stairs for safety.
Mapping Out the Wiring Plan:
- Draw a rough sketch of your yard.
- Mark where each light will go.
- Plan cable routes and measure distances.
Step 2: Gather Tools and Materials
Having everything ready will save you time and frustration.
Essential Tools for Installation:
- Shovel and trenching tool
- Wire cutters and strippers
- Screwdriver set
- Power drill (if mounting fixtures)
Types of Cables and Connectors:
- Low-Voltage Cable: Safe for DIY projects.
- Connectors: Waterproof connectors for secure wiring.
- Transformer: Converts high-voltage to low-voltage.
Safety Gear and Precautions:
- Insulated gloves
- Safety glasses
- Voltage tester

Step 3: Install the Landscape Lighting Fixtures
Now comes the fun part—placing your lights!
Positioning Lights for Maximum Effect:
- Path Lights: Space them 6-8 feet apart for soft illumination.
- Spotlights: Angle them to highlight trees or walls.
- Well Lights: Place near trees for an uplighting effect.
How to Stake and Mount Lights Properly:
- Insert stakes into soft soil (use a rubber mallet if needed).
- Position fixtures slightly tilted for the best light spread.
- Secure mounted lights to walls or posts with screws.
Waterproofing and Securing Fixtures:
- Use weather-resistant connectors for wires.
- Ensure light covers are tightly sealed.
- Use cable clips to secure wires and prevent tripping hazards.
Step 4: Connect the Wiring and Power Supply
Wiring your landscape lights is easier than it sounds!
Laying Low-Voltage Cables:
- Run cables along your pre-planned routes.
- Leave some slack for adjustments.
- Bury cables are 3-6 inches deep to protect them from damage.
Connecting Lights to the Transformer:
- Strip about ½ inch of insulation from cable ends.
- Attach cables to the transformer terminals.
- Plug the transformer into a GFCI outlet for safety.
Testing the Connections for Safety:
- Turn on the power and test each light.
- Check for flickering or dim lights (indicating loose connections).
- Make adjustments if needed.

Step 5: Adjust, Test, and Enjoy Your Landscape Lights
With everything connected, it’s time to perfect your setup.
Adjusting Angles for the Best Illumination:
- Tilt spotlights to avoid glare.
- Lower path lights for a warm, inviting glow.
- Use diffusers for softer lighting.
Timers and Smart Controls:
- Install timers to automate lighting.
- Use smart plugs or apps for remote control.
- Set motion sensors for security lights.
Final Safety Check and Cleanup:
- Inspect for exposed wires or loose fixtures.
- Cover cable trenches completely.
- Clean up tools and debris.

Pro Tips for a Perfect DIY Landscape Lighting Installation:
- Use LED Bulbs: Save energy and enjoy longer bulb life.
- Group Lights into Zones: Makes it easier to control.
- Add Dimmer Switches: Adjust the brightness for different occasions.
Cost Breakdown: How Much Does DIY Landscape Lighting Cost?
| Item | Estimated Cost |
|---|---|
| LED Path Lights (6) | $60 – $120 |
| Transformer (100W) | $50 – $100 |
| Low-Voltage Cable (100 ft) | $30 – $50 |
| Connectors (10 pack) | $15 – $30 |
| Timer or Smart Plug | $20 – $50 |
| Total Estimated Cost: | $175 – $350 |
You’ll likely save $500 or more compared to hiring a professional!
Benefits of Installing Landscape Lights Yourself:
- Curb Appeal: Your home will stand out beautifully at night.
- Safety & Security: Well-lit pathways prevent trips and deter intruders.
- DIY Satisfaction: Enjoy the pride of creating something yourself.
Maintenance Tips for Long-Lasting Landscape Lights:
- Clean Lenses Regularly: Dust and dirt can dim the lights.
- Check Connections: Ensure cables are secure and dry.
- Replace Burnt-Out Bulbs Promptly: Keeps the system balanced.
Common Mistakes to Avoid When Installing Landscape Lights:
- Overlighting: Creates harsh, unappealing glare.
- Poor Cable Placement: Risk of tripping or lawnmower damage.
- Ignoring Safety Precautions: Always use GFCI outlets and waterproof connectors.
Eco-Friendly Landscape Lighting Ideas:
- Solar-Powered Lights: Energy-efficient and easy to install.
- Smart Timers: Reduce energy waste by automating schedules.
- LED Bulbs: Use 80% less energy than traditional bulbs.
When to Call a Professional for Landscape Lighting:
- Complex Wiring Needs: Especially for 120V systems.
- Large-Scale Installations: When lighting an expansive area.
- Troubleshooting: If you experience flickering or circuit issues.
FAQs About Installing Landscape Lights:
1. How deep should low-voltage cables be buried?
About 3-6 inches is usually sufficient. For areas with heavy foot traffic, aim for 6 inches.
2. Can I use regular bulbs for landscape lighting?
No, it’s best to use outdoor-rated LED bulbs that are designed for durability and weather resistance.
3. How long do LED landscape lights last?
Most LED bulbs can last up to 25,000 hours, which means years without needing replacement.
4. Is landscape lighting waterproof?
Yes, most landscape lights are designed to be weatherproof but always use waterproof connectors for the cables.
5. Can I connect landscape lights to my home’s power system?
Yes, but using a low-voltage transformer is safer and easier, which converts high voltage to a safer 12V current.
Conclusion
Installing landscape lights is one of the most rewarding DIY projects you can undertake. With careful planning and a bit of effort, you’ll enjoy a beautifully illuminated yard that’s both functional and stunning. So grab your tools and get started—your dream outdoor oasis is just a few steps away!


